
When someone asks me to look at their garage over a video call, I start with the floor, not the rack. I ask them to point the camera down and walk me from the door to the back wall.
Cracks, oil stains, a damp corner and the slope toward the driveway all show up before any equipment does.
Good garage gym flooring has three jobs, and most people plan for only one. It has to protect the concrete, give your knees and back a stable base, and keep your barbell and plates from chipping.
Each job calls for a different decision.
Test the Slab Before You Buy Garage Gym Flooring
For most garage gyms, 3/4-inch rubber stall mats or thick interlocking rubber tiles laid wall to wall give the best mix of slab protection, joint-friendly cushioning and grip, and a plywood lifting platform.
Rubber drop zones where you deadlift absorb the impact of dropped plates so neither the concrete nor your barbell takes the hit.
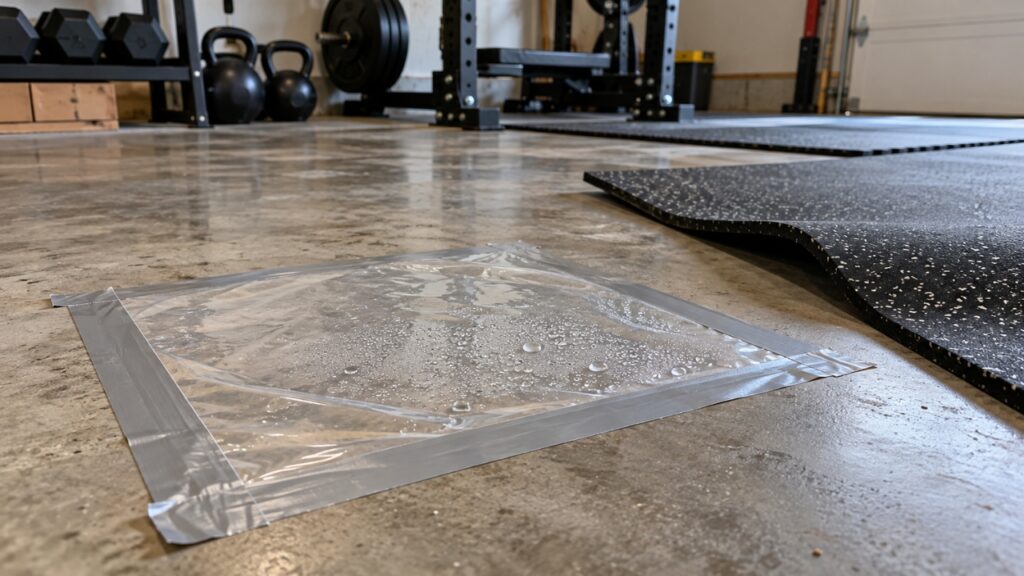
The cheapest check is old and simple. A guide in the Journal of Light Construction on testing concrete for moisture describes taping a sheet of plastic to the slab, waiting 16 hours, and looking for condensation underneath.
Condensation under the plastic means the slab is too damp to cover. A dry result does not prove the slab is dry, only that it might be. A calcium chloride test, which measures the vapor a slab gives off over 60 to 72 hours, gives a firmer answer.
Your Garage Floor Slopes on Purpose
Most garages are not level, and that is deliberate. Section R309.1 of the 2018 International Residential Code, reprinted in a Pacific, Missouri, building department handout, requires the parking area to slope so liquids move toward a drain or the main vehicle door.
The same section calls for a noncombustible floor surface, so the concrete is the real floor and your mats simply sit on top.
The slope changes how I plan garage gym flooring in three ways.
- Water from a wet car or melting snow runs downhill and under your garage gym flooring, so I put the training area on the high side, away from the door.
- A rack or platform on a slope can rock, so I check it with a level and shim the low corners.
- Mats pushed tight against the door seal block the path water is meant to take.
What Garage Gym Flooring Has to Protect
I treat the floor as three separate problems, because each one has its own fix. The table is how I talk through garage gym flooring before anyone spends money.
| What needs protecting | What damages it | What helps |
| The concrete slab | Plates, kettlebells and dumbbells landing hard | Rubber mats, plus a platform where heavy drops happen |
| Knees, hips and back | Slipping, a surface that shifts under load, hard landings | Firm rubber with grip, with foam kept for floor exercises |
| Barbell and plates | Metal meeting bare concrete, grit under the plates | Bumper plates landing on rubber, a clean platform |
Soft and protective are not the same thing. For lifting, a garage gym floor should feel firm and grippy, because a squat on a spongy surface makes your ankles and knees do extra balancing work.
Cushioning matters most where something lands, whether that is a plate or your feet.
Why I Pick Rubber Over Foam for Lifting
Foam puzzle tiles look like the easy answer for garage gym flooring, and they work well for stretching and core work. Under a loaded barbell or a heavy kettlebell, foam compresses unevenly, dents and lets the tiles creep apart.
For anything heavier than bodyweight and light dumbbells, I steer people toward rubber gym flooring for garage gyms.
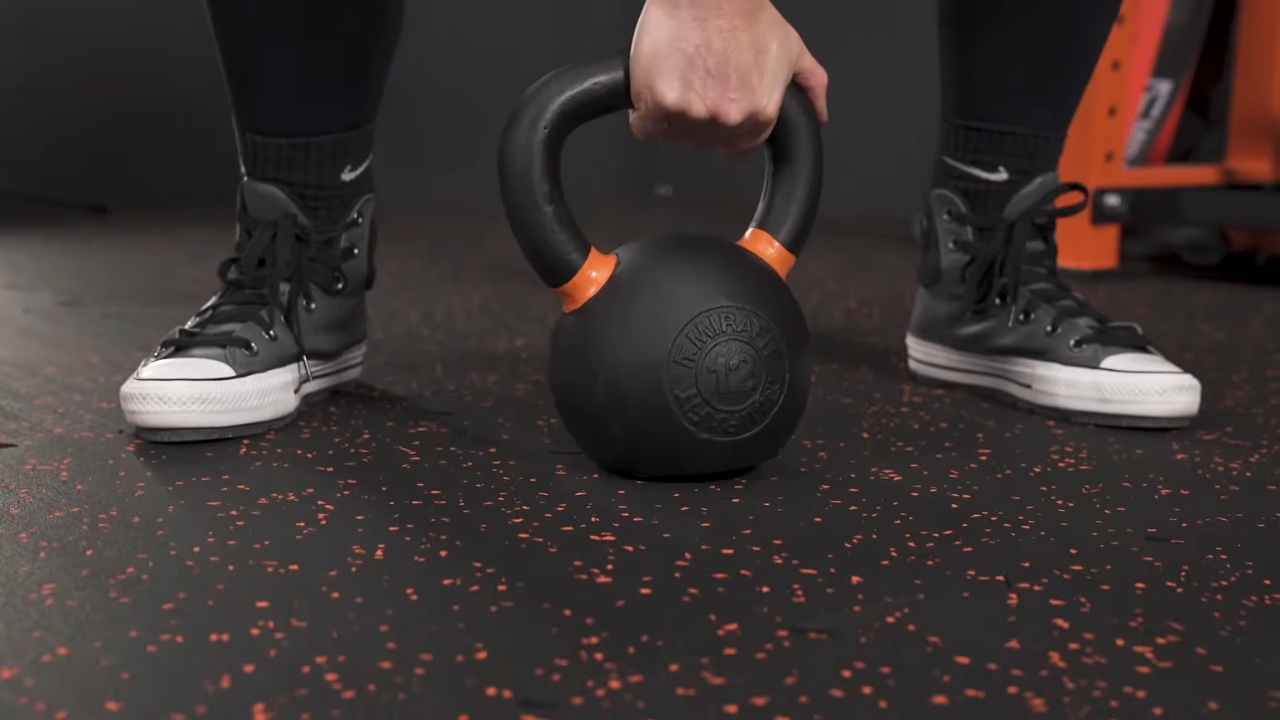
Dense rubber holds its shape, grips your shoes and spreads the force of a dropped weight over more of the concrete. The difference shows up the first time a kettlebell slips from tired hands. Rubber takes a thud, while foam keeps the dent.
Did you know? The 3/4-inch horse stall mats many home lifters buy weigh about 97 pounds each at 4 by 6 feet, according to one manufacturer’s specifications. They were made to cushion horses standing on hard barn floors, which is close to the job a lifter needs from them.
How Thick Your Garage Gym Flooring Should Be
Thickness depends on what you drop, not on how serious your training feels. Below is the rough guide I give people setting up garage gym flooring for the first time.
Before you order mats, I would plan the entire home gym setup so the floor suits your equipment and leaves enough room to exercise.
- For bodyweight work, bands and light dumbbells set down with control, about 3/8 inch of rubber is enough.
- For kettlebells and heavier dumbbells that sometimes land hard, go to 1/2 inch or more.
- For barbell squats, presses and deadlifts lowered under control, 3/4-inch mats are my default.
- For deadlifts dropped from the hips or lifts dropped from overhead, add a platform and bumper plates.
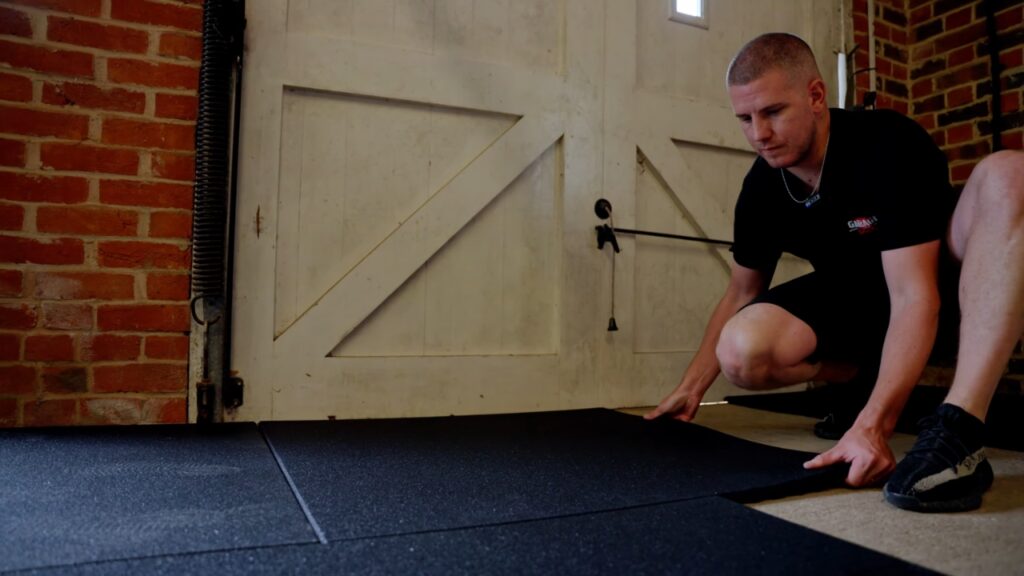
Thicker mats bring one problem. A 3/4-inch mat leaves a lip where it meets bare concrete, and that edge catches toes and plate rims, so I cover the whole training zone instead of leaving small islands of rubber.
A Simple Platform Saves the Slab and the Bar
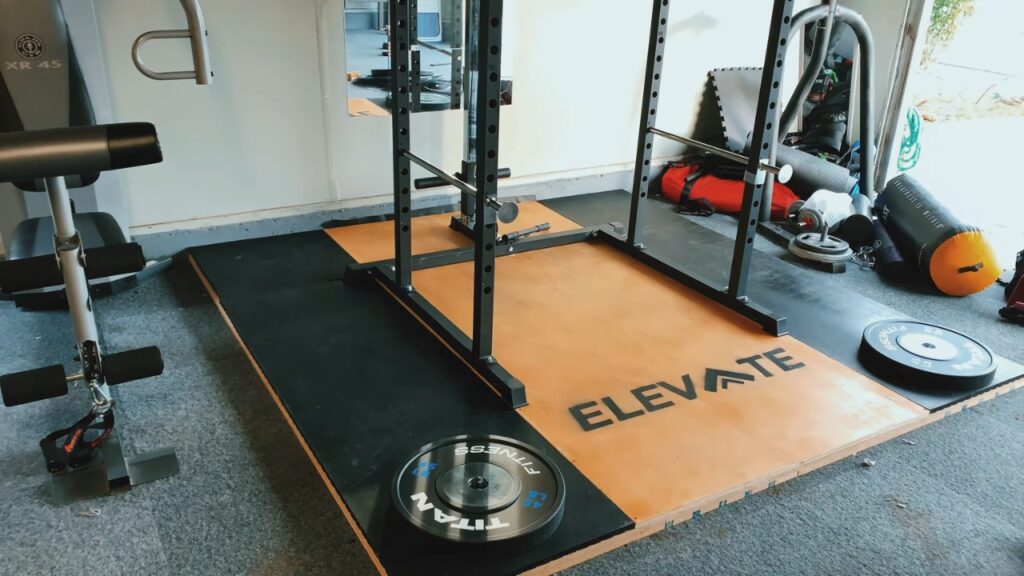
Plates do most of the damage when a deadlift is dropped or a clean goes wrong. Bare concrete chips, and so do iron plates and the sleeves of the bar.
A platform sits on top of your garage gym flooring and gives you wood where you stand and rubber where the plates land, and the garage version I suggest takes an afternoon.
- Lay two 4-by-8-foot sheets of 3/4-inch plywood side by side to make an 8-by-8-foot base.
- Screw a third sheet across the middle, running the other way, as your standing strip.
- Cut 3/4-inch rubber to fill the two 2-by-8-foot strips on either side, where plates land.
- Set a level on top and shim any low corner before you load a bar.
Rubber and plywood of the same thickness keep the top flat, so the bar rolls evenly and your feet stay on one level surface.
The Smell of New Rubber and What Research Covers
New recycled rubber smells, and in a closed garage the odor can be strong for weeks. People ask me whether that is safe, and the honest answer is that the research does not cover garage gym flooring directly.
The closest federal work examined crumb rubber on synthetic turf fields. Part 1 of the EPA and CDC tire crumb rubber report from July 2019 found chemicals present in the rubber, as expected, but limited release into air and simulated body fluids. The agencies stated plainly that the report is not a risk assessment.
California went closer to home with a 2011 lab study of tire-derived rubber flooring, and state officials later set indoor exposure levels for four chemicals found in that flooring. Until better data exists, I air new mats out with the garage door open for a few days and keep the space ventilated while training.
Laying Rubber Gym Flooring for Garage Training
View this post on Instagram
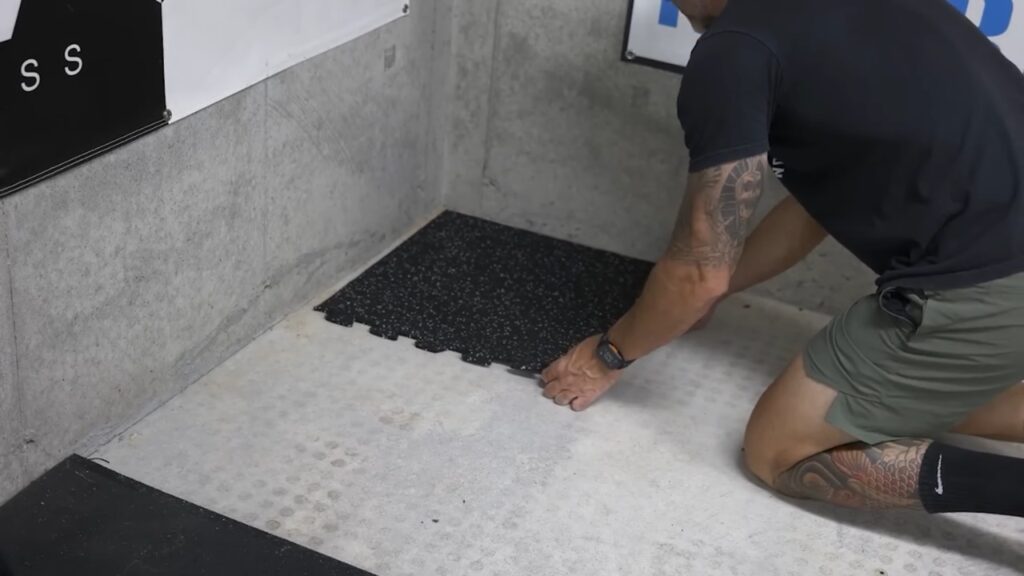
A full garage gym flooring install takes one weekend if you plan the cuts first and measure twice. Stall mats are heavy and awkward, so I treat laying rubber gym flooring for garage training like a session, with a warm-up and a partner.
- Sweep and dry the slab, and degrease oil spots so mats do not slide.
- Carry each mat with two people, hinging at the hips and bending the knees, as in a deadlift.
- Cut with a sharp utility knife along a straightedge, scoring several passes instead of forcing one deep cut.
- Let rolled rubber lie flat for a day before trimming, because it relaxes and shifts.
- Leave the strip nearest the door bare so water can still drain out.
Two Checks to Run Tonight
Before you order anything, take a roll of tape, a sheet of plastic, and a level out to the garage tonight. Tape the plastic down where you plan to deadlift, then lay the level across the garage gym floor where the rack will stand.
By tomorrow evening, you will know whether the slab is damp and how much shimming a platform needs. Those two answers decide more about your garage gym flooring than any product page.